Table of Contents
About
With regards to recently acquired contraband, the following page will document the transformation of a vespa scooter from being powered by lead-acid batteries, to being powered by lithium batteries. Even though the tutorial refers to the UK Moden Tech L1e-B scooter, the modification is universally applicable to any scooter that is powered by lead acid batteries.
The gains in doing so are remarkable. For example, consider the UK Moden Tech L1e-B scooter that is powered by no less than five (5) lead acid batteries, each of them weighing around  , making a total of
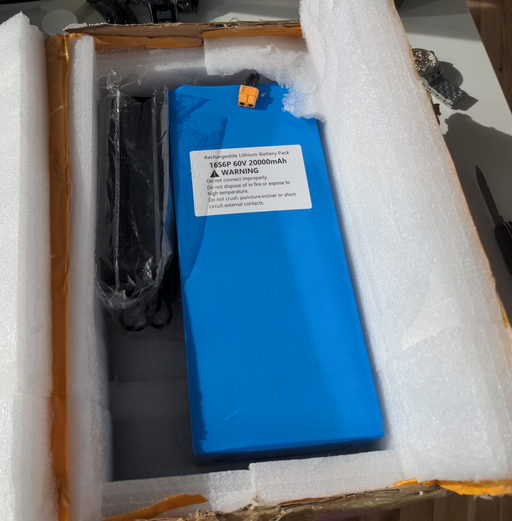
  for just the batteries alone. The battery brick that was acquired weighs itself
  at the exact same specifications, thereby the switch alone from lead acid to lithium alleviating the total weight of the scooter by
The very simple rule to follow, is that all the details of the replacement lithium battery, should be more or less above the specifications of the lead acid batteries. In this case, the scooter was powered by five batteries, altogether generating in series  and the batteries themselves being rated at
  . The replacement lithium batteries have the exact same specification, providing
  rated at
  .
.
Reworking the Battery
The battery was delivered along with a  charger meaning that the charging times will be decent. Just judging by the eye, three or four of these batteries would fit inside the scooter such that the idea of placing several of these in parallel is a pretty good idea if it can be afforded. Lithium batteries, compared to lead-acid and/or GEL batteries are far more resilient to charge-discharge cycles.
In any case, for the scooter's use, we considered that the wires / leads that were provided were far too thin, such that the first thing we did was to procure two 10AWG cables.
These cables are relatively difficult to solder, having a large volume, such that handling them when soldering needs to be done with some fire-gloves or similar heat mitigation method.
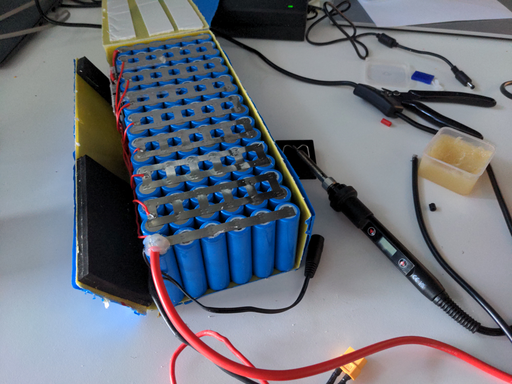
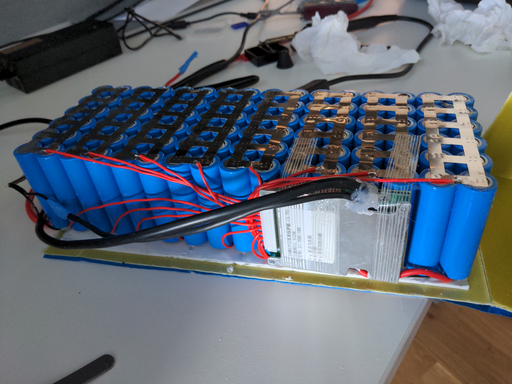
In any case, the battery is opened up: this is done by cutting straight down the margins of the battery such that the result can then be popped open, as well as re-assembled later with some tape. Using some small scissors, opening the battery is not that difficult and the result is that the interior circuitry can be accessed. Across the front of the battery, the positive pole is connected and round the back the negative cable is connected on the other side. In between, and towards the back of the battery, a BMC battery regulator is interlaced in order to provide the battery assembly with some protection, as well as stabilizing the charging of the batteries.
Using the 10AWG cables, the first task is to remove the old cables with the XT60 connector, and then solder the fat wires, first to the positive pole on the front and then to the BMC round the back.
Even though not necessary, some hot melt plastic glue is used to increase the tensile strength of the bond after the cables have been soldered. In practice, this should not be necessary, but given the weights and dimensions of the objects, the hot melt plastic glue does not hurt either and is able to mitigate pulling on the cables.
Note that the charger cable connects the very same way to the exact same connectors that the main 10AWG cables connect to such that the wires are re-soldered back on top in order to provide the charging port.
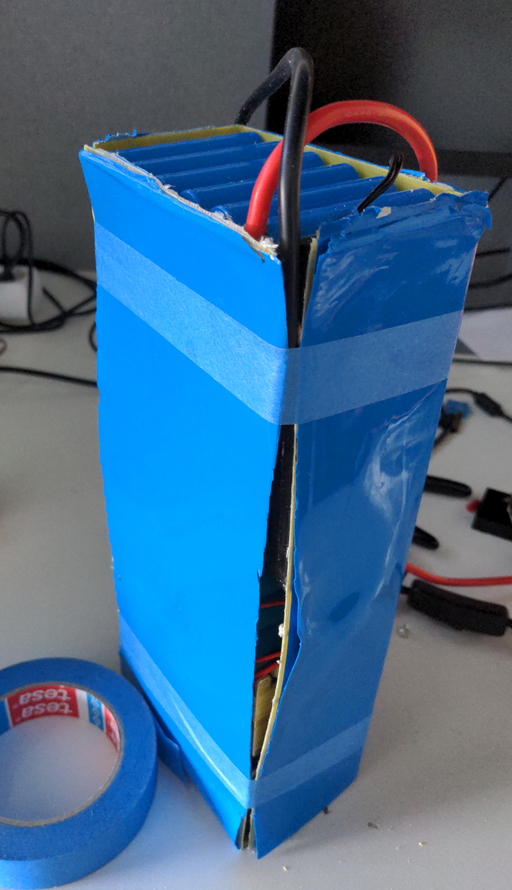
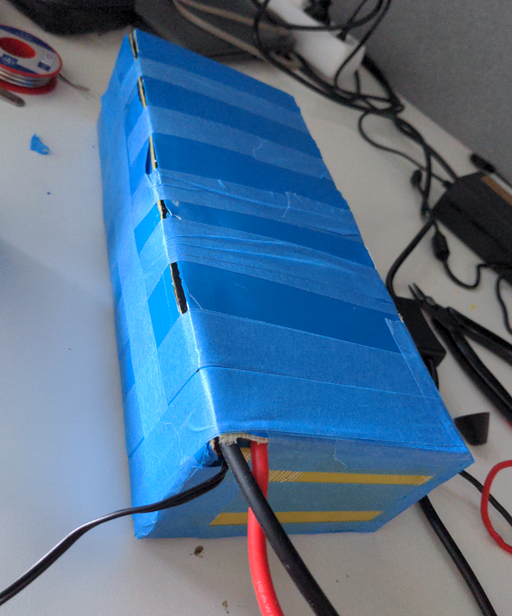
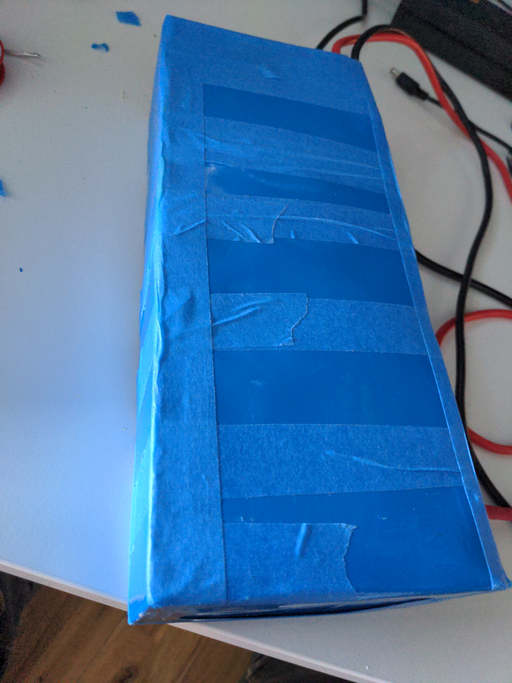
Having cut the battery along the edges, it is now easy to compress the battery back into shape, and then use some painter's tape to assemble the battery back. Easy does it, the tape is used to slowly envelop the battery like a mummy, and then tape is cut and placed along the edges.
In principle, there is not reason for the battery to be closed up water- or airtight; the only particularity is the yellow plastic casing that was shipped with the battery and that acts as a flame retardant. Regardless, just making sure that the contents do not wobble inside the battery and that the battery is securely wrapped is sufficient.
Changing the Batteries
Removing the existing lead-acid batteries is a little difficult due to their size, weight and the fact that the scooter is designed to waste no space and to accommodate for the five batteries at the same time.
The tactic used was to remove the red strut keeping the batteries down, then remove all the cables from the battery connectors, and then use two cables connected to the first battery in order to pull and heave the first battery out of the battery compartment. With the battery out, the rest of the batteries can just be removed by hand.
The circuit is very simple; the serial circuit provides  by sequencing five times
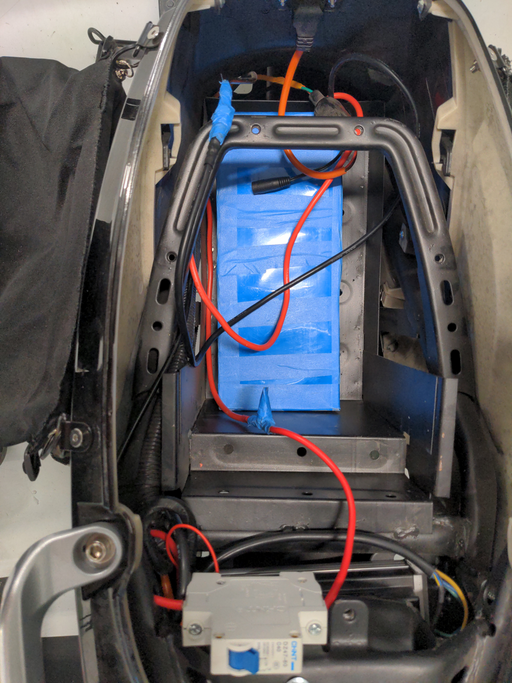
  , with the positive pole feeding through a breaker to the controller, whilst the ground wire connects on the opposite end to a lead that leads deeper into the scooter circuitry.
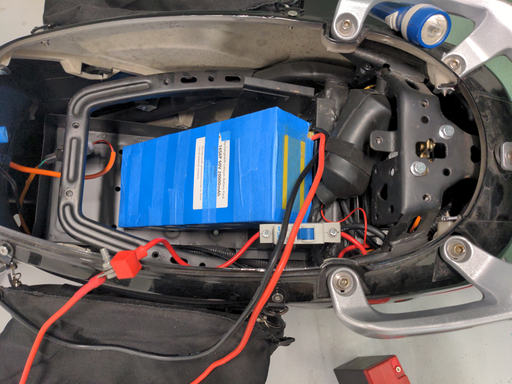
For testing, the lithium battery is then connected to the opposite ends, the main breaker is switched on and with the flick of the ignition key, the scooter turns on as if no change had been made.
The rest is fairly trivial; but just to reiterate, once the old batteries are out, there is an immense amount of space on the inside of the scooter, allowing for further extensions to be made (for instance, another battery, or three!).
Given the space, the charger will now be integrated and will be placed on the inside of the scooter with the power leads connected to the kettle connector that was used for charging the scooter before. The existing kettle connector, in fact, feeds mains voltage to the controller, and, in-turn, the controller presumably contains a charger for the lead-acid batteries. However, given that the lead-acid batteries are removed, the cable is severed, and the kettle connector is now connected to the lithium battery charger instead. This is done simply by cutting the mains lead from the lithium battery charger and soldering the cables to the kettle cable connector.
The charger will then be placed alongside the battery, possibly secured down with some thread or Velcro to reduce the change that the charger will bounce around due to vibrations.
Initially, the red strut in the images, when assembled, constructs a sort of cage around the four batteries placed in the bottom compartment where the blue lithium battery now lies. It is not necessary to put the strut back, because the batteries have been removed but the strut is still placed back because it provides some structural reinforcement of the scooter's iron skeleton.
Charging
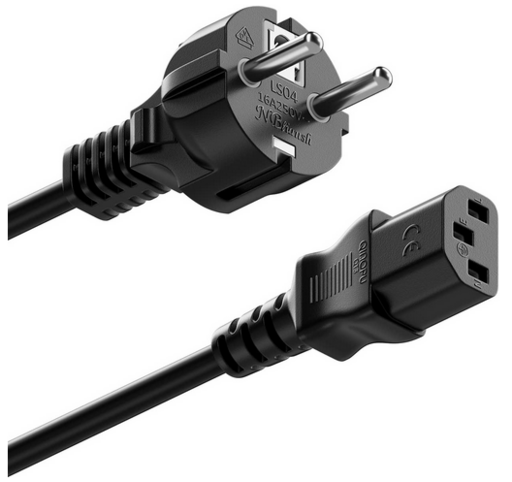
Finally, charging the scooter is now extremely elegant and requires just a single, simple kettle cable that is plugged into the wall-socket on one end, and then the kettle connector plugs in directly into the scooter. No extra dangling wires, no charger that has to be stashed somewhere with the luggage, and everything is now integrated.
Kettle cables are widespread, due to powering almost all kitchen appliances as well as computers / PCs, and they can be found for a bargain price in dimensions of tens of meters.
Results
Albeit empirical, there are just no words comparing before-and-after the replacement of the batteries. The acceleration itself shot through the roof and twisting the accelerator just a little makes the scooter effectively jump forward very eagerly and accumulate velocity.
Then the fact is that  have been knocked off "for free", such that on a standard trip that would have consumed two lines of the battery, the exact same trip just makes the first line blink once or twice but no battery line disappears. Also, as a consequence of the weight reduction, the scooter can be lifted more easily, meaning that small adjustments can be made when parking by hand.
For the contact, copyright, license, warranty and privacy terms for the usage of this website please see the contact, license, privacy, copyright.
