Table of Contents
About
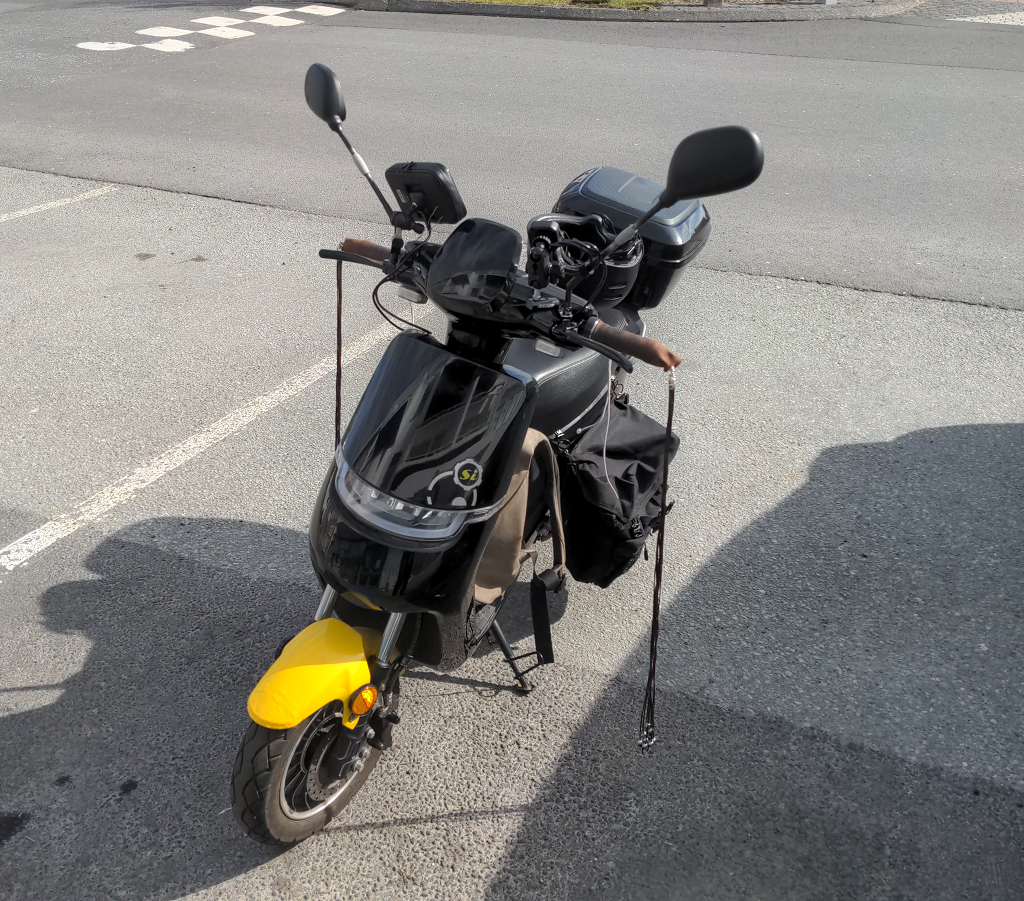
Motorcycle tassels are a decorative item mounted onto the handlebar of motorcycles-like vehicles, such as bicycles, scooters or motorcycles resembling a multi-fibre whip with variable length. One could argue that tassels are not uniquely aesthetic, but that they also have the effect of providing better grip to motorcycle handlebars, protection to the handlebar material itself and perhaps even some warmth due to being made out of a natural material.
Typically tassels are made out of leather-like materials, either true leather or faux leather and are fairly easy to craft on your own given some leather, leather thread and grommets.
This page records the creation of a pair of tassels created for a scooter but they are not the only design that one can come up with; in particular because the tassels documented on this page deviate a little from the tassels illustrated in various images.
Magic Categorization
 This is a low twisted reality item with no deviation. All the materials used are of the same development stage without any aberrations; the only highlight at worst being the perfectly shaped steel balls that will be added onto the ends of the leather strings.
Schematic
The design will be kept simple, with holes on the extremities of a sheet of leather that will be used to tie the piece of leather to the handlebar.
+-------------------------+
|   o   o   o   o   o   o |
|                         |
|O                        |
|                         |
|   o   o   o   o   o   o |
+-------------------------+
On the end of the piece of leather, one more hole will be created in order to pass the leather wires through.
               +-------------------------+
               |   o   o   o   o   o   o |
--------------\|                         |
----------------O                        |
--------------/|                         |
               |   o   o   o   o   o   o |
               +-------------------------+
Optionally, some steel balls will be tied on the ends of the leather threads to provide some weight. Instead of letting the leather threads wave in the wind, the steel balls will instead provide some wind resistance, as well as creating a sort of chime, emitting a pleasant sound, when the steel balls hit each other while driving.
                +-------------------------+
                |   o   o   o   o   o   o |
o--------------\|                         |
o----------------O                        |
o--------------/|                         |
                |   o   o   o   o   o   o |
                +-------------------------+
Requirements
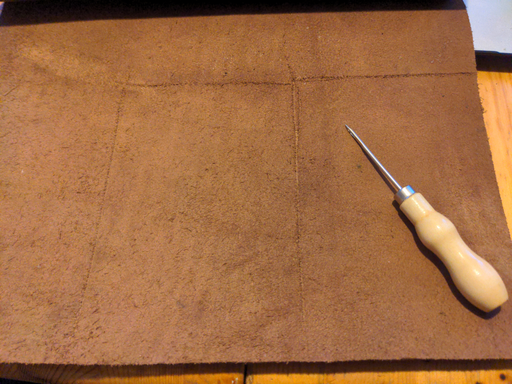
- a piece of leather, preferably something malleable such as sheep or goat skin rather than pig skin and with a relatively small thickness, good enough to bend around the handles,
- grommets,
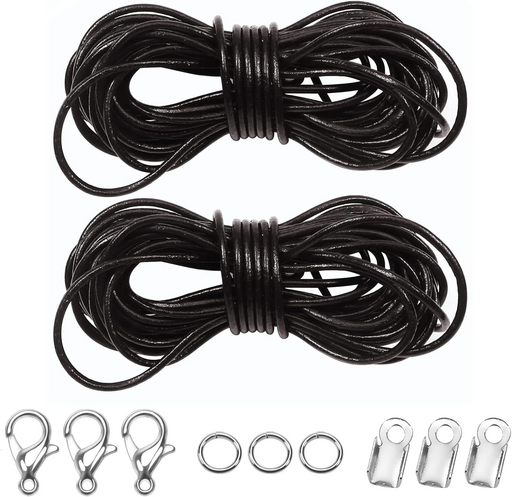
- leather threads with clasps for the ends,
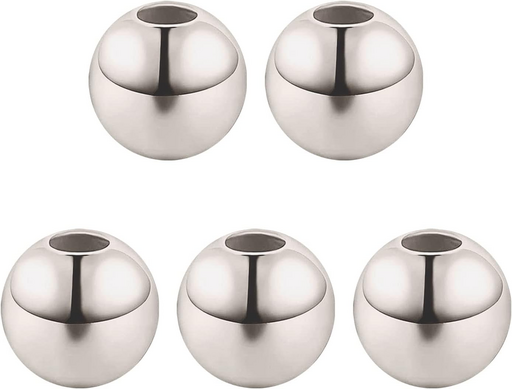
- solid steel balls, perforated, for the ends of the leather cables,
- metal rivets with a buckle to attach the leather strings to the leather sheets around the handlebars,
Realization
Cutting the leather sheet involves first drawing some boundaries using some previously made measurements. Then, using scissors, two rectangles are carefully cut to size. It is always best to cut the rectangles larger than the actual size in order to have some wiggle room and it is always best to make finer adjustments later by cutting more of the leather, which cannot be done if the piece is cut too small.
In order to measure the required size, perhaps the easiest is to just use a sheet of paper and roll it around the handlebars and cut the paper accordingly. Then the piece of paper can become the blueprint form in order to draw the lines necessary and cut the leather.
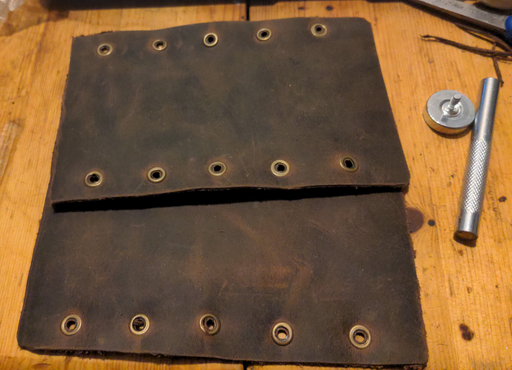
The next step is to trace the holes that will be used to tie the tassels onto the handlebars. Then, either using a hammer-perforator, or, in our case, a Dremel saw with a drill bit, the holes can be drilled into the leather.
With all holes perforated, the punch-tool is then used to add grommets to all the holes. This stage is very important and should rather not be skipped because after lengthy usage, the strings that will be used to tie the tassel around the handlebar will have the instinct to cut through the leather, thereby ruining the tassel. In fact, any time when dealing with holes in "live" material such as leather, it is absolutely necessary to fit grommets onto any created holes.
The action is repeated for both cut out leather pieces and all the holes are fitted with grommets. The color of the grommets chosen is darker to match the grey-dark brown of the leather instead of using a very bright silver-like shade.
Next, the leather strings are created by attaching the clasps to one end and the steel balls to the other end. The locking mechanism between the string clasps and the slabs of leather will consist in
The clasps will then close around the buckles of the rivets that will be mounted on the extremities of the leather sheets around the handlebars. In this case just a single metal rivet has been used but it is possible to perforate the leather further in order to space out the strings that will be attached to the handlebar for a wider area of effect.
Finally, the tassels are mounted onto the handlebar on both ends. First, in order to check that the tassels fit and secondly to cut the leather strings to size. It is up to anyone's style how long the tassels should be but for this design the decision was taken to make the tassels almost reach the ground such that the strings were cut a few millimeters ( ) off the ground while also minding the extra required space for the steel balls.
One very nice alternative to using cotton string to tie things together is to use elastic string instead, along with a blocker such that the fastened result does not get loose, as well as providing the easy option to remove the tassels if need be.
As one last comment about the steel balls that are fitted on the ends of the leather string, this is done by simply tying a knot at the end of the leather string to hold the balls but just to make sure, a small drop of glue is added onto the knot to make sure it does not come undone.
For the contact, copyright, license, warranty and privacy terms for the usage of this website please see the contact, license, privacy, copyright.
