About
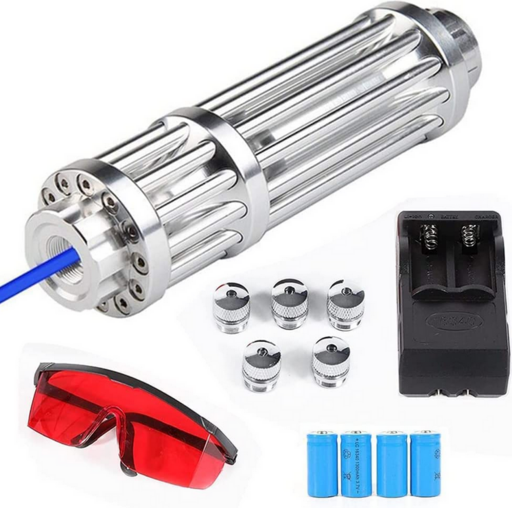
For a mere 50 bucks you could be the owner of a very powerful laser. Aside the glory of having an item that could render anyone blind given a few nanoseconds or feeling like a Jedi, these lasers are particularly useful for hiking, emergency situations and especially good at scaring wildlife if push comes to shove. These lasers have started to appear due to powerful laser diodes being manufactured in China and then wrapped as a laser pointer and sold throughout the world.
On this page a few modifications will be summarized based on the shortcomings of the laser device with some advice on how to make the pointer better and more useful.
Holster
Lugging around such a large device in a bag seems uncomfortable such that a more convenient way of carrying the laser is necessary. One idea is to use clamps that are used to cling onto monitor holder poles and combine them with a mobile phone belt holster in order to achieve the perfect way to carry the laser.
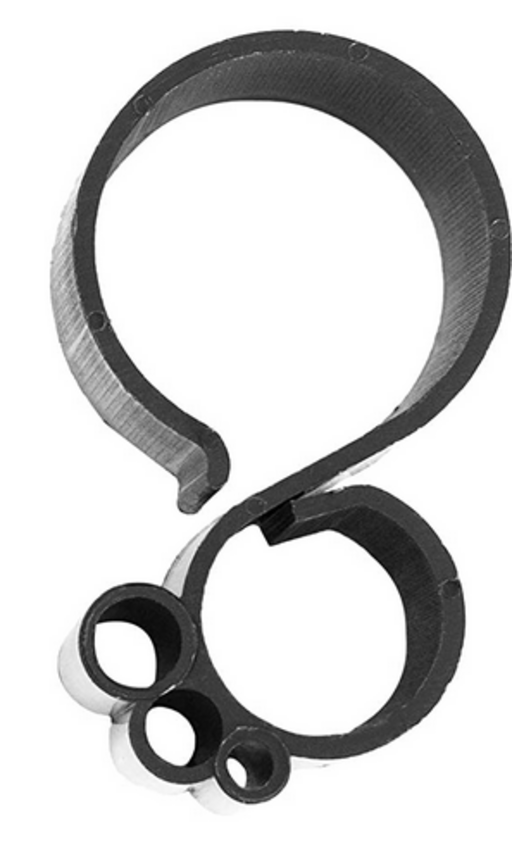
Here is what a monitor cable organizer clamp looks like and they're available everywhere in stores.
This sort of clamp will need to be cut in order to preserve just one of the loops - the loop that will attach around the laser.
With the clamp cut, it seems that it fits around the laser shaft very well and fastly. The next step would be to add a mobile phone holster clamp to the cable organizer clamp so it can be carried on a belt.
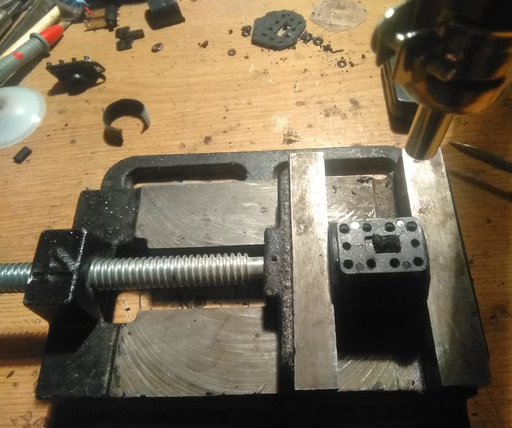
A mobile phone holster for belts is a simple mechanism that can be found for most mobile belt carry pouches. Here is a holster hinge cut out of the pouch with a pen knife.
The plastic part on the right is own on the belt and the circular loop on the right is going to be attached to the cable organizer cylinder.
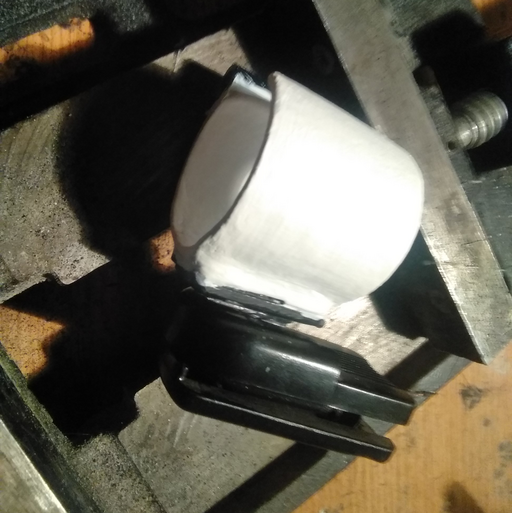
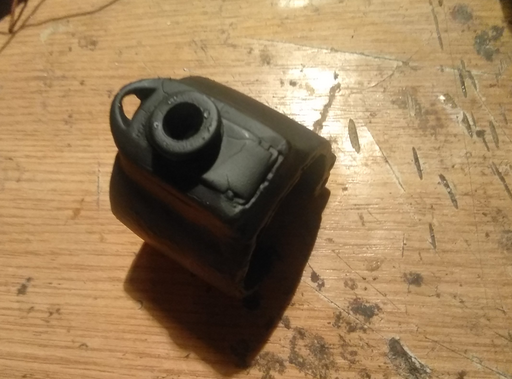
The bottom part of the hinge is super glued to the cylinder first in order to not wobble and then using a hot air gun, hot melt glue is applied to the top, drenching the mount in plastic on top of which the circular bit is attached.
Now both parts can be attached and glued together on top of the cable organizer clamp.
In order to make the result look good, the assembly is filed down and then painted with paint primer to make way for the last black coat of paint.
Finally, with some black paint, the holster is now ready.
Batteries
These lasers are designed to use two batteries and the batteries supplied are usually some non-brand batteries model LC 16340 rated at  and boasting a whooping
  . It is unlikely that the batteries hold at
  and there have been many attempts by other people to measure the real capacity; typically, the capacity is somewhere along the lines of
  and no more, or rather, less than half. Branded
 16340 batteries typically have the highest Amperage rating at around  (Nitecore branded batteries) such that it is unlikely that the no-brand batteries are truly rated at
  . The amperage of the batteries reflect the amount of time that the laser can be used for.
What is interesting is that the follow-up model of batteries, the IMR 18350 are indeed rated at very high Amperages such as  and are accessible via brands such as KeepPower branded batteries. We purchased some
 IMR 18350 batteries and attempted to slide them into the laser battery compartment only to figure that they would not fit. However, upon closer inspection, the laser battery compartment contained a plastic tube that perhaps was meant to provide some stability to the old LC 16340 batteries. With the plastic tube removed, the IMR 18350 fit in nicely and a quick test showed that the laser worked fine.
The LC 16340 batteries measure 16mm in diameter and 34mm in length, whilst the IMR 18350 batteries are larger, with a diameter of 18mm and a length of 35mm.
One of the difficulties in achieving a perfect built lies with the screw-on cap for the battery compartment that has a flat contact such that IMR 18350 batteries might not make contact. The screw cap is a simple mechanism that takes the positive charge of the battery and connect it to the chassis of the laser device once the button is pressed. Similarly, when the button is toggled, the contact between the positive pole of the batteries and the chassis is severed.
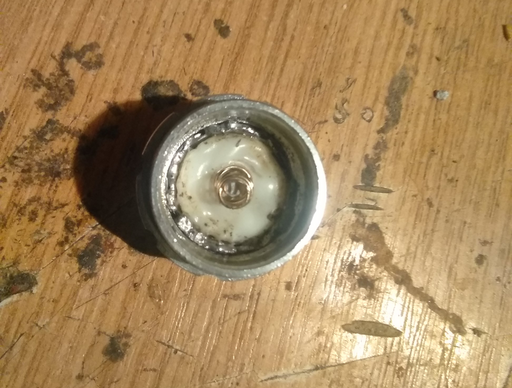
A solution was found by removing the battery cap button entirely, first by unscrewing the metal plate inside and then prying out the button, in order to fit a standard flashlight button with the extra perk of having a spring instead of a plate contact.
The button mechanism salvaged from a flashlight did not fit perfectly, and the contact was made via a small protruding lamelle such that the whole mechanism was wrapped in solder and then a heat gun was used to secure it in place making a perfect contact between the mechanism and the chassis of the laser device.
With this modification in place, and the plastic tube inside the laser pointer removed, the IMR 18350 fit nicely inside the chassis, held in place by the spring of the borrowed button mechanism and the laser was upgraded to double its potential capacity.
For the contact, copyright, license, warranty and privacy terms for the usage of this website please see the contact, license, privacy, copyright.
