Table of Contents
About
PCI expansion ports on a standard PC case use a fastening system consisting in an #6-32 UNC screw that holds the PCI card to the PC case. Unfortunately, PC cases are not designed for the frequent removal of PCI cards such that the screw holes become enlarged progressively as PCI cards are fitted and removed. The result is that the holes on the PC case become larger over time, requiring thicker screws over time. This guide illustrates a permanent fix for this problem, having both tight fastening in mind and removes the wear and tear component of the problem entirely.
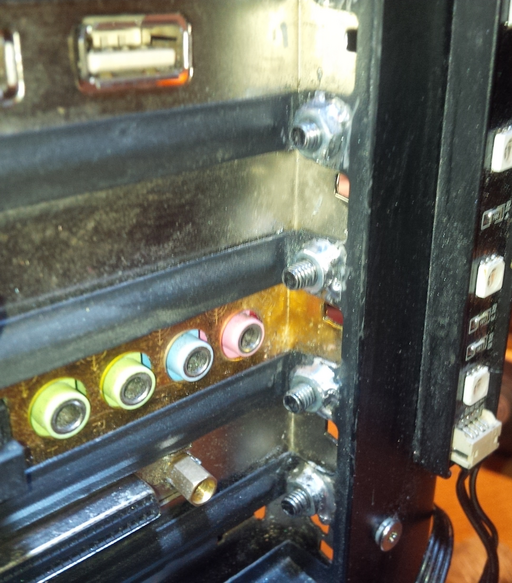
The proposed method is to solder nuts on the back of the PC chassis on the back of the PCI cage thereby both extending the screw thread surface and bypassing the mounting holes entirely.
Requirements
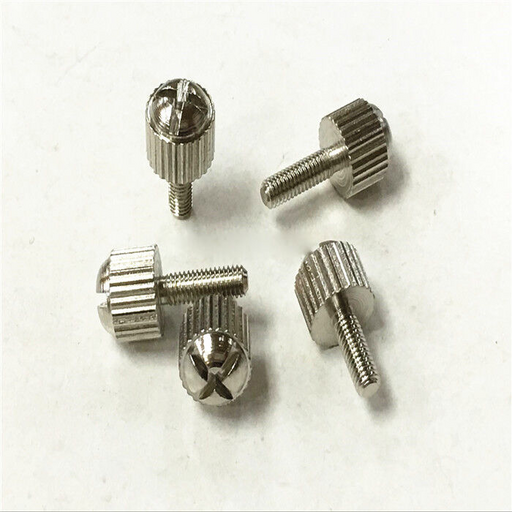
- M4 thumb screws - instead of #6-32 UNC screws, thumb screws will be used instead due to their solid build and more elegant removal, allowing both manual grip and the use of a standard screwdriver.
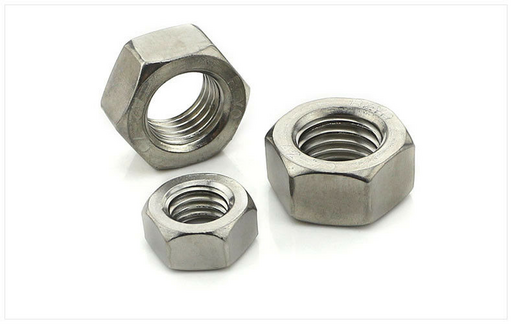
- matching nuts for the M4 thumb screws - the nuts may have to be filed down to a torus in oder to allow the nut to slide all the way and make proper contact with the PC chassis.
- a file or Dremel - a file or a Dremel (with an abrasive surface such a high grit sanding head or a polishing stone wheel) to trim down the nuts to a torus or ring in order to allow the nut to make proper contact with the PC chassis.
- file, Dremel, sandpaper - either variant; used to remove the paint around the chassis screw holes and allow proper contact between the chassis and the nuts.
- hand-held drill or Dremel - to expand the size of the PCI mounting holes to M4. No tapper is needed since the holes will just pass through the screw and will not provide fixture.
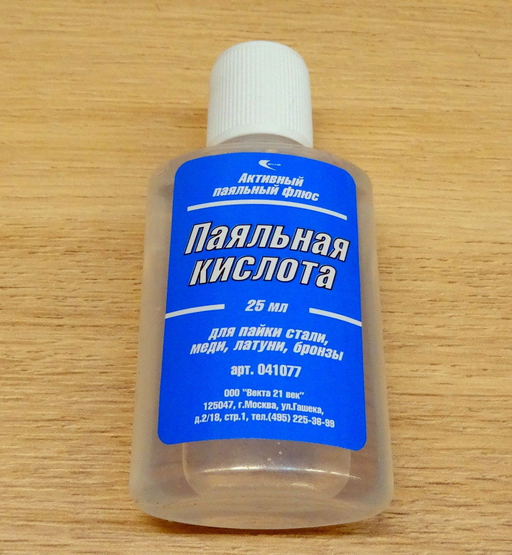
- soldering acid - soldering acid is needed to allow brass, zinc or steel based nuts to adhere to the PC chassis. All-purpose weak soldering acid, usually based on hydrochloric acid is sufficient to allow solder to bond between the steel or aluminium-based PC chassis and the bras or zinc nuts.
- soldering equipment - including regular solder and a soldering iron.
Procedure
First, remove the mounting screws from the PCI brackets on the chassis and remove all PCI cards. Using a file, sandpaper or Dremel, sand the back of the case around the ring of the PCI holes to remove the paint and expose the bare metal. This will provide optimal adherence between the different type of metals of the nuts and the PC case.
Next, use the file, sandpaper or Dremel to file the nuts as close as possible to a torus or ring shape. Ideally, the nuts should slide easily all the way to the back of the chassis and lay flat on the exposed metal of the PC case.
Without any PCI cards attached, fasten the thumb screws though the enlarged chassis PCI holes with the filed down nuts to hold the nut in-place on the surface of the exposed metal of the PC case.
For all attached thumb screw and nut, let a drop of acid flow on the nut and apply solder abundantly at a high temperature (350-400C) and with very slow movements whilst ensuring that the solder bonds with both of the nut and the exposed metal of the PC case. After each nut has been soldered to the PC chassis, pause for half a minute and then use a screwdriver to very gently check that the thumb screw taps into the nut properly - a side-effect of testing is that by moving the thumb before the solder and acid cures entirely, is that one would find out whether any extra solder has been mistakenly applied to the thumb screw itself and prevent a permanent broken bond.
As a final step, one can apply some paint with a brush to match the color of the case.
Results
For the contact, copyright, license, warranty and privacy terms for the usage of this website please see the contact, license, privacy, copyright.


