Table of Contents
About
Seamless textures have the nice property that they can be tiled and repeated any number of times without losing the quality of the image. For example, suppose you have a large board that must be filled with a background but depending on how large the board is, the pattern may end up looking stretched if it is not large enough to cover the entire board. This is where seamless textures come to use and we can create a seamless texture out of pretty much anything that will look great regardless how many times the tile is repeated.
You can use any vector drawing program for this tutorial since the same concepts will apply. However, for reference, the vector drawing program used was Adobe Illustrator.
Setup
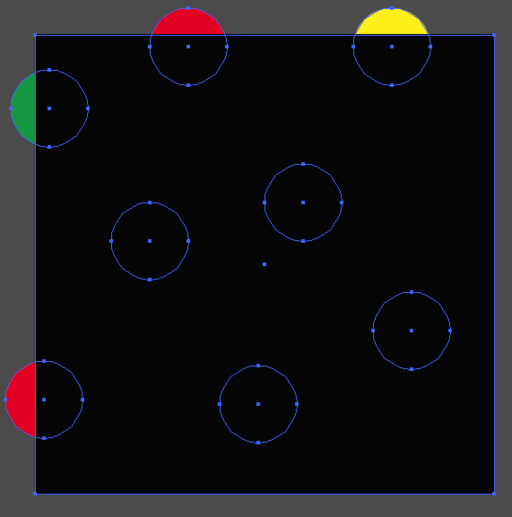
We first create an artboard with dimensions  and draw some objects or shapes allover the board.
Arranging the Objects
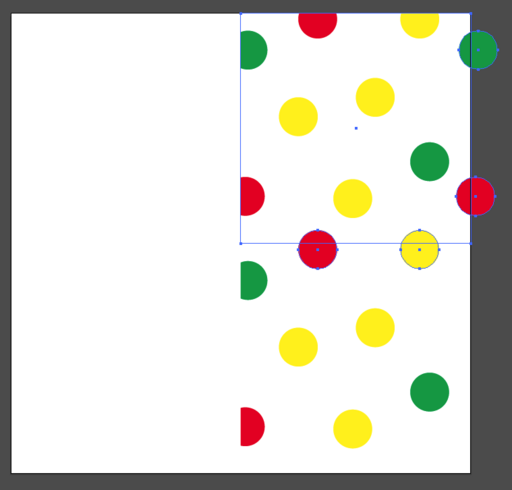
Since we are making a seamless texture that will repeat both horizontally and vertically, we arrange the objects such that the content overflows at the top and on the left:
You can of course do that in reverse but for example's sake we have used the top and bottom.
Clipping the Objects
After the objects are placed, we add an additional object with a distinctive colour such that it fits the entire artboard and lies over the objects.
Then we group all the objects together.
Doubling the Artboard
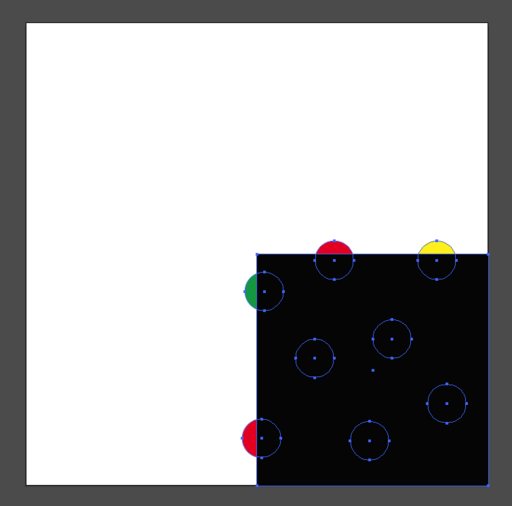
Since we have created a  artboard, we now double the size to
  such that we can place the images next to each other and handle the overflow.
Clipping the Image
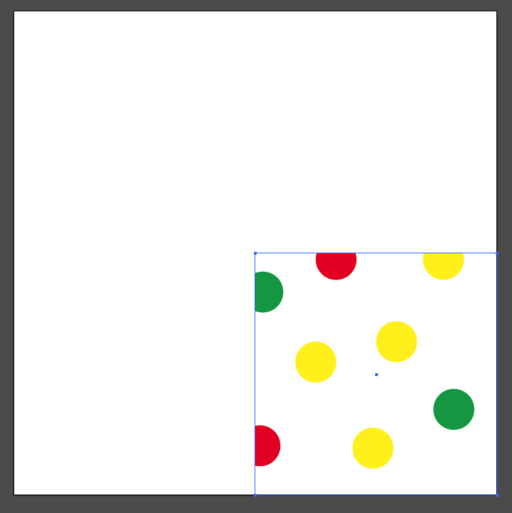
Now that the image is well-placed in the corner of the artboard (which we use as a ruler) we can now go to Objects->Clipping Mask...->Make and trim the objects.
The result is that we now have an image with objects of exactly  .
.
Doubling Horizontally
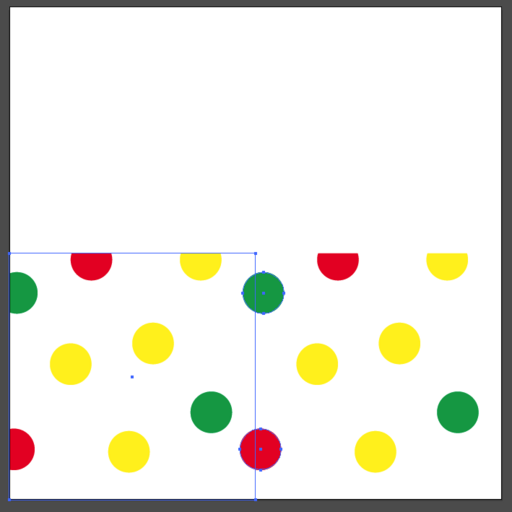
The next step is to handle the left overflow, so to that end, we double the object and drag it to the left such that it aligns properly with the other object on the right.
Copying the Horizontal Overflow
Now we can copy the horizontal overflow and group it with the image on the left. We do this by copying the dots from the right image and paste them in-place.
Once this is done, we group the left object, which will become our final image in the end.
Doubling Vertically
Copying the Vertical Overflow
As we have done for the horizontal overflow, we now copy the images from the object below and paste in-place on the object above.
After the objects are copied, we group the overflow objects with the image on top.
Create Final Clipping Mask
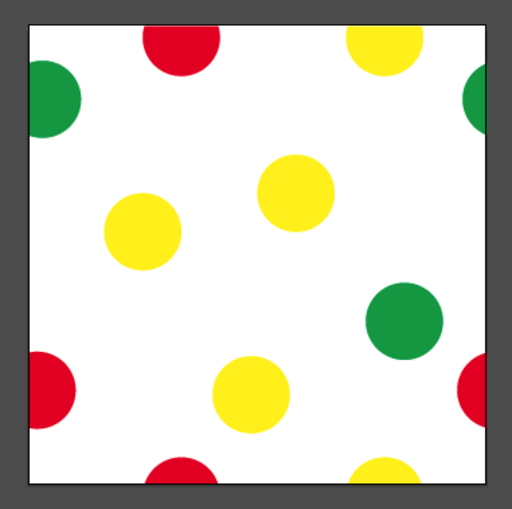
Now we can discard the reference image and keep the image on top as the final image. However, we must now create a new clipping mask to trim off the overflow.
Final Image
For the contact, copyright, license, warranty and privacy terms for the usage of this website please see the contact, license, privacy, copyright.

