Table of Contents
About
This guide is for setting-up the AmiTCP TCP/IP stack in order to connect the Amiga to the network and thus to the Internet.
Requirements
- You will need a functional and running local network.
- You will need a network interface for the Amiga (this guide assumes an EasyNet PCMCIA to Ethernet adapter is present).
- You will need to get AmiTCP from Aminet.
Preliminaries
The EasyNet adapter comes with an installer program that installs the device driver. The first step is to install the device drive which the installer installs to the DEVS: directory on the Amiga.
Our network layout has the following parameters which will be used throughout the tutorial:
| Parameter | Value |
|---|---|
| IP | 192.168.0.60 |
| Hostname | amiga.internal |
| Gateway | 192.168.0.1 |
| Netmask | 255.255.255.0 |
| Device | 3c589.device |
| Interface | eth0 |
| Username | amiga |
| Install Path | Workbench:AmiTCP |
You may need to change these values so they correspond to the network and your Amiga ethernet device name.
Installing AmiTCP
Install AmiTCP just as any other program with installer and pay attention to the following steps:
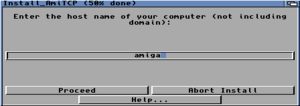
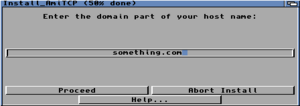
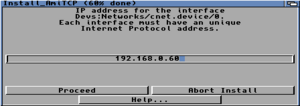
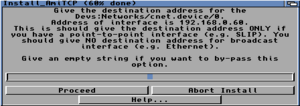
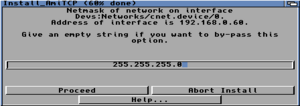
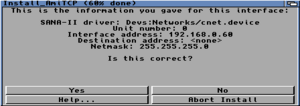
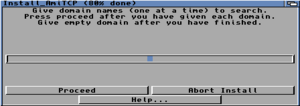
- You will be asked for an IP address for the Amiga, a netmask, a gateway, nameservers, hostname and domain name. Make sure you enter the correct data during these steps so you do not have to change them later.
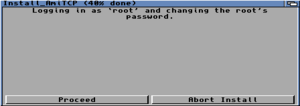
- At some point during the installation, you will be prompted to change the root password. This will not work, so just close the window and continue with the installation.
- The installer will prompt to modify the startup-sequence - you can skip this step because some programs are not compatible with the TCP stack running in the background. Instead, in the following section, we will configure AmiTCP to start from the command-line.
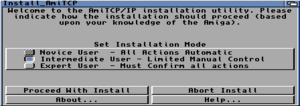
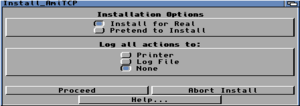
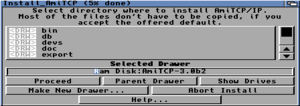
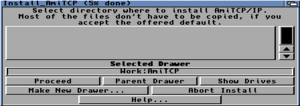
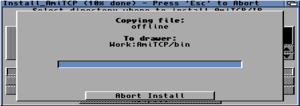
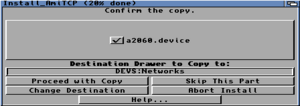
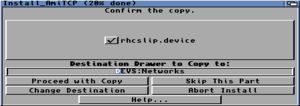
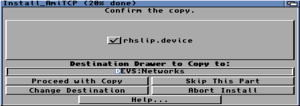
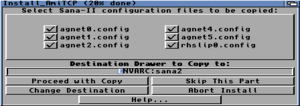
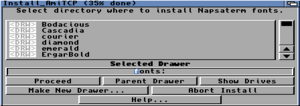
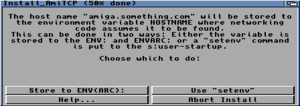
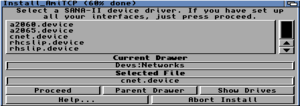
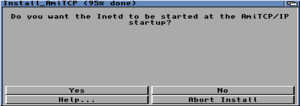
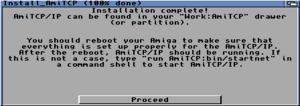
The following images are a rough reference of the installation procedure (courtesy of megaburken).
Configuration
A few files have to be changed in order to make AmiTCP work properly. The first file to modify is at s:user-startup, remove any AmiTCP section and it should include an AmiTCP section with the following lines:
;BEGIN AmiTCP/IP
assign AmiTCP: Workbench:AmiTCP ; this is where you installed AmiTCP
path AmiTCP:bin add
AmiTCP:bin/login -f root ; user
AmiTCP:bin/umask 022
;END AmiTCP/IP
Note that in our case, AmiTCP was installed in Workbench:AmiTCP and if you chose a different path, you may need to amend that line.
Now we can modify AmiTCP:db/interfaces in order to specify our interface. If you open AmiTCP:db/interfaces, you can amend or add a line to say:
eth dev=devs:networks/3c589.device
which configures eth devices to use the EasyNet 3c589.device from DEVS:
The next step is to modify AmiTCP:bin/startnet and, in the end, it should look like this:
run >NIL: AmiTCP:AmiTCP
WaitForPort AMITCP
AmiTCP:bin/ifconfig lo0 localhost
AmiTCP:bin/ifconfig eth0 192.168.0.60 netmask 255.255.255.0 ; IP and Netmask
AmiTCP:bin/route add amiga.internal localhost ; hostname: amiga.internal
AmiTCP:bin/route add default 192.168.0.1 ; gateway
Assign TCP: Exists >NIL:
If Warn
    Mount TCP: from AmiTCP:devs/Inet-Mountlist
EndIf
run >NIL: AmiTCP:bin/inetd
You can now save all the files and issue from the command-prompt:
startnet
which should start the TCP/IP stack.
Postamble
You may want to install services later which will depend on the AmiTCP:DB/passwd entries. These entries are a regular passwd file with DSA encryption. In order to generate a valid password for an user, you use the perl DSA password generator. You should then enter the password in AmiTCP:DB/passwd in the second section, for example:
amiga|COE9/va2/SZIA|100|100|AmiTCP User|Workbench:|*NewShell *
where COE9/va2/SZIA is the DSA password. After you saved the file on the Amiga, issue on the command-line:
passwd amiga
and change the password.
For the contact, copyright, license, warranty and privacy terms for the usage of this website please see the contact, license, privacy, copyright.

