Table of Contents
Preventing Damage to the Scooter Chair Bottom Plate
One of the typical problems of aftermarket scooters is the overall scooter chair stability. Scooter chairs seem to damage themselves from usage over time, resulting in the fixing bolts coming out or breaking the threads, as well as the metal plate bending. It can be assumed that due to the scooter chair being fixed metal-on-metal to the scooter body, the friction created between the two metal plates increases the torsion forces between the metal plates and results in higher forces being exerted both on the bolts and the weaker scooter chair metal plate.
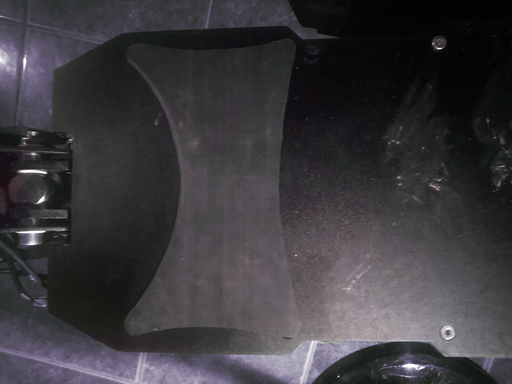
A rubber plate acting as a large washer can be cut to size in order to solve the friction problem between the metal components.
Holes can then be drilled in order to fit the bolts through the rubber sheet.
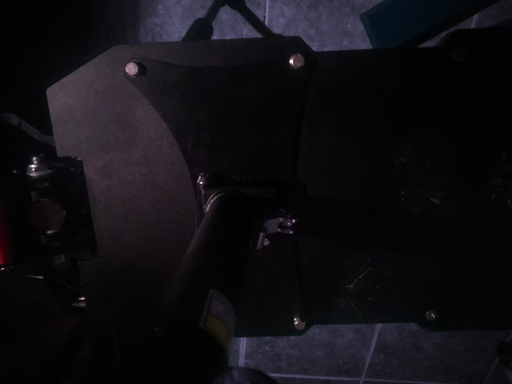
Finally, the chair and saddle can be mounted back onto the scooter.
Note that the scooter chair is mounted the wrong way around, which is a tweak in itself given that the scooter folds backwards and the chair folds forward thereby mounting the chair the other way around would allow the scooter to be folded properly.
Integrating the Charger with the Scooter
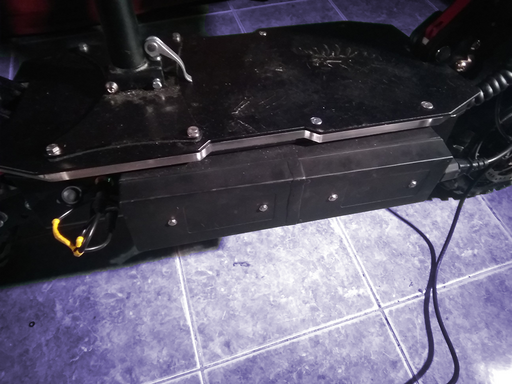
One interesting modification is to mount the charger directly onto the scooter chassis. Fortunately, Chinese no-brand and high powered scooters tend to be similarly constructed, such that the upper plate covering the battery, controller and other related circuitry tends to protrude sufficiently in order to create a gap where the charger could fit. The benefits are that you will not have to haul the charger around which is incidentally bulky.
In the case presented here, the modification is a little more complex due to the scooter having two chargers and two charger ports (a nonsensical idea, given that the amperage could be split electronically, but marketed as a "feature" instead) such that the chargers will be disassembled and merged together in one single large charger bar that will fit on the side of the scooter.
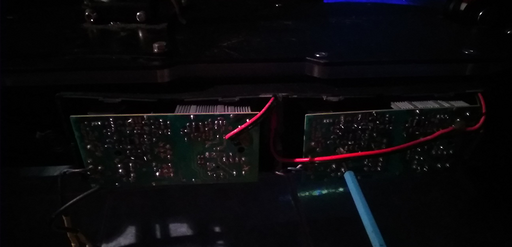
Breaking apart the two chargers, reveals a well-done circuit (with one dodgy MOSFET that you typically could replace for a more expensive counter-part) that is responsible for each charger port. The only bulky component is the transformer and there is no real way around that. Consider spraying the circuitry with some PCB waterproof protector, unless you want to go the whole way and use some epoxy to encase the circuits in a waterproof substance.
Joining the two circuits together is trivial, the green and black wires in the image connect the mains-in together such that alternative input current will flow to both chargers in parallel. There are two cables, for each charger, leading to the socket connector that connects to the scooter. Regrettably, the cable quality is not great, and the socket connectors are three prong, even though the third pin is left floating.
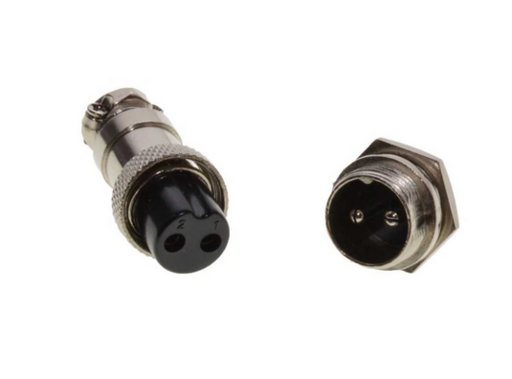
One remedy is to replace the whole cable and the sockets altogether by using two-pin aviator plugs and jacks. One drawback of the provided XLR connectors is that they do not tightly fit with the sockets on the scooter. For some reason, they tend to have a lower quality such that it is remarkably easy to switch polarity by coupling the XLR plug with the socket. Fortunately, the circuitry is well designed such that you will not burn out anything but it is still worrisome that it is so easy to make a mistake. The aviator jacks, on the other hand, tend to have threads and are screwed into place such that even vibrations will not knock them out of the socket.
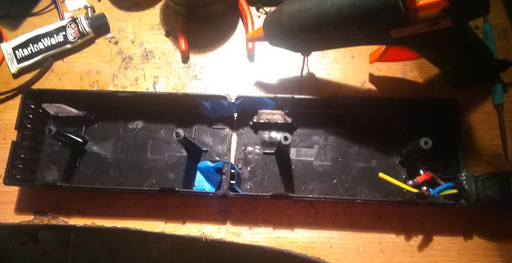
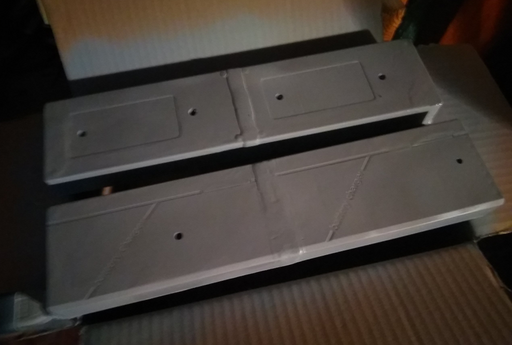
A two part compound was chosen to weld the two plastic casings together, such as JB Weld but any two part epoxy would do as well. Since we are here, the chargers are shipped with a two prong plug for the wall socket, but it would be much more convenient to rip them out and replace the current intake with a typical and standard kettle plug such that the scooter can be charged with a regular PC cable (on the right of the image).
The weld did a good job of gluing the two cases together and now the excess material can be sanded down to perfection and to become barely noticeable. Of course, the results do not look too pretty, with smudges of JB Weld across the case, such that the next step is to sand down the entire case and get it ready for painting.
First, a primer is used on the cases to make the surface ready for the application of paint and then paint is used on top of the primer paint. The paints used have been typical car spray paint and nothing too sophisticated. The idea has been to match the original scooter design and not to be too creative.
Even though JB Weld glue has been used to join the plastic cases, the resulting large charger bar is mounted onto the scooter by drilling holes and holding the case in-place via screws and not by gluing the result to the scooter. In effect, this provides the ability to remove the charger bar at any point and replace it with anything else.
Mounting the circuitry has been quite a problem given that the PCBs are just screwed to the plastic using drill screws that are designed to effectively eat at the plastic material. The screws have been replaced with threaded type screws by firstly applying some pressure in order to thread the plastic feet that are meant to support the screws.
The end result is an impressive success, the large joined charger bar looking good fitted underneath the bottom plate. The output charger cables that feed into the scooter had to be shortened and could be perfected later. Plugging in the kettle cable starts charging the scooter now and the only object needing to be carried around is just a standard kettle cable that can even be coiled around one of the scooter support bars.
One omission is the lack of an LED indicator, but the three pin, common ground LEDs for both chargers could just be pulled to the outer side of the joined charger bar and perhaps even be placed next to each other to achieve a more integrated effect. Overall, these chargers are unlike your typical bulky chargers because they are not heavy at all. Even so, one funny side-effect of mounting the chargers on the bottom of the scooter will be that the centre of mass of the scooter will be moved slightly lower thereby making the scooter more stable.
Battery Pack Relocation
The main problem with fuel is that compared to gas, petrol and others, electricity cannot be stored... indefinitely. You are then in a situation where if you ever wanted to park your electric scooter on a public street, you will be unable to refill the scooter as easily as going back to the scooter with a petrol jerry can and filling up the tank. In fact, there is no solution to this situation, except if you somehow pull a very long lead from a socket to the electric scooter parked out in the street such that you can charge the battery.
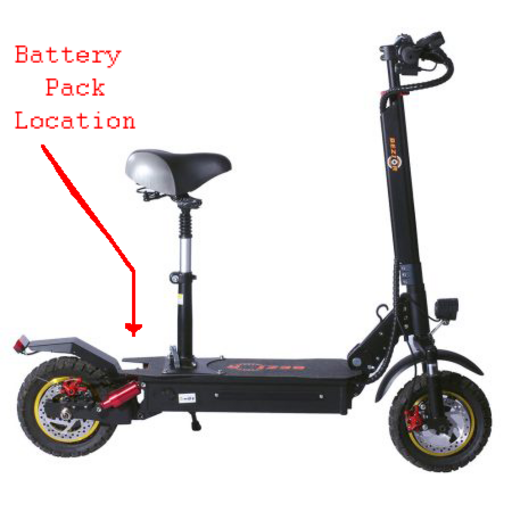
One interesting modification however, consists in opening up the bottom trap door, removing the battery and then relocating the battery externally and preferably contained within a bag or backpack that can be easily removed and taken away while the scooter remains parked.
As per the illustration, on most powerful scooters, the battery fits wonderfully between the seat and the back fender and wheel, and can be hooked to the various metal parts such that it does not wobble around when the scooter is in use.
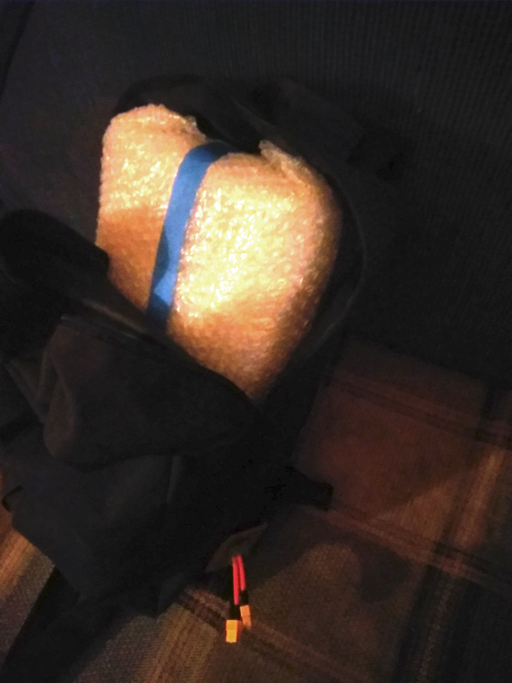
The backpack that will contain the battery must be cut in order to allow the battery connectors to slip outside with wires and the wires must be inserted though the chassis on the inside in order to be connected to the electronics.
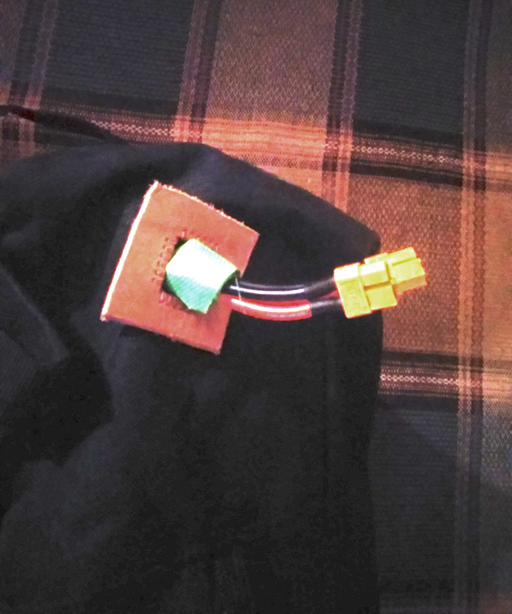
In the image, some leatherworking is used to create a small hole on the bottom side of the bag in order to pull out the two charge wires with the XT60 connectors. When the bag is placed behind the driver's seat, two 12AWG leads will connect to the XT60 connectors, with the leads connected to the internal circuitry of the scooter.
For protection, the battery is wrapped up in bubble wrap and then using some painter's tape, the bubble wrap is secured over the battery.
Another hurdle is to fasten the bag to the back of the chair and/or to the rear fender in order to ensure that the bag does not fall while driving. This is up to the geometry of the scooter, but given all kinds of bag fasteners, it is a rather trivial job.
With everything in place, the scooter can be parked outside and just the battery has to be ferried between home and the parking spot. While the battery is home, some XT60 connectors can be bought to modify the chargers to charge the battery safely in-house. Interestingly, there is a lot of room between the back seat and the rear fender, such that even with a bunch of extra tools, a well-chosen backpack will have enough space for the battery and even additional things to be bought along.
One cool secondary feature is the perfect "theft protection", due to the battery that will be completely missing such that unless a thief hauls around their own heavy battery, the scooter will not move around at all. Similarly, for most powerful scooters, the battery is perhaps the most expensive part within a scooter, due to the power requirements such that it would not really be a great catch to steal the scooter without battery either way.
For the contact, copyright, license, warranty and privacy terms for the usage of this website please see the contact, license, privacy, copyright.
